Tracking Pixels
General Information
Tracking Pixels are fairly straight-forward and easy to work with.
Depending on the type of offers you are running, you’ll place your Pixel in one of the following places:
a) Your own offer - Place your pixel in the code of your "Thank you" or "Purchase Confirmation" Page
b) 3rd Party Affliate/CPA Offers
- most Networks will give you the ability to Paste your Pixel directly into their interface.
- Some Affiliate/CPA Networks require Secure (https://) Pixels. In this case all you’ll need is:
- to install an SSL certificate on your CPV Lab Pro domain
- when adding your pixel to the network, just add “s” to the
httpso it will becomehttps, like this:https://trackingpixelhere.com/adclick.php
Tracking pixels in CPV Lab Pro
In CPV Lab Pro (opens new window) there are 4 default samples of tracking pixles:
- Image Pixel
- Iframe Pixel (required when calling multiple 3rd party pixels)
- Script Pixel
- Postback URL Pixel (Server2Server Pixel)
Also you can add Additional 3rd Party Pixels to your campaign Setup page. More details on Traffic Source Pixels
For each campaign, the code for the tracking pixels can be found on the Campaign Setup page in the "Links & Pixels" section (as in the image below)
![]()
All you have to do is add the CPV Lab Pro tracking pixel to your offer (depending on the Offer Source you will choose the appropriate Tracking Pixel)
- Once the tracking pixel is setup in your offer the tracking will be sent to your CPV Lab Pro instance
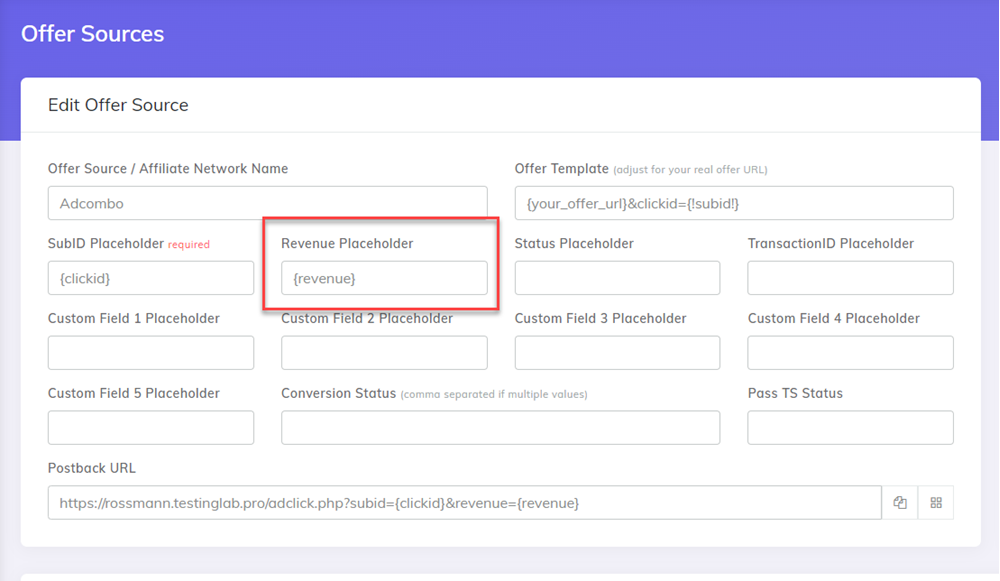
Each of these tracking pixels can also receive the revenue by using the Revenue parameter setup for your Offer Source
- Details for passing the revenue from the Offer Source in the tracking pixel can be found here: Postback Revenue from CPA Affiliate networks
- You can check on how to use the Postback URL here: Postback URLs
Find more details in the video below:
https://www.youtube.com/watch?v=bMUS9Vdbv90 (opens new window)
You may also find useful: