Lead Capture Campaign
To setup a Lead Capture Campaign you need to follow the steps below:
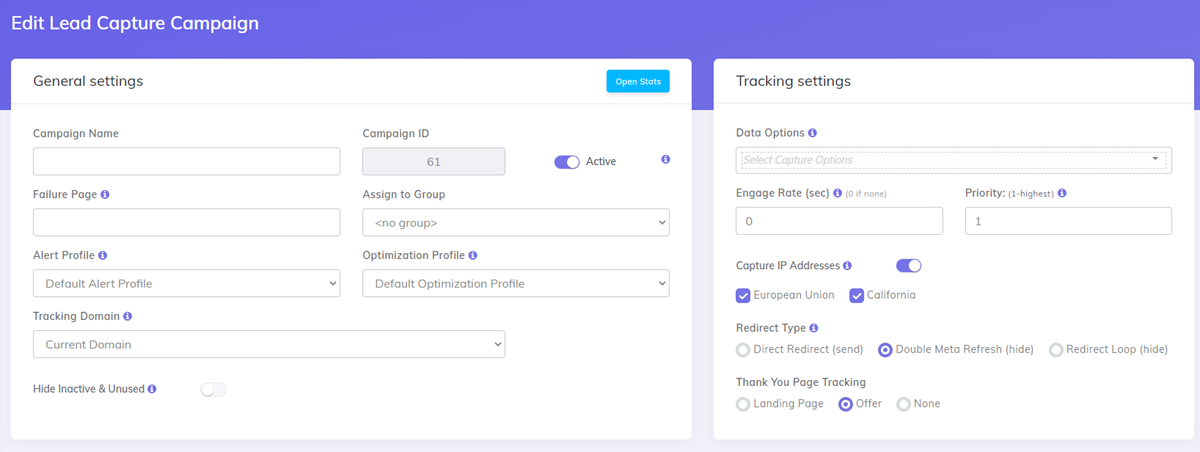
Step 1. Setup the General Settings for the Campaign: Name, Stats CPV, etc
- There is a new field available on this page: "Thank You Page Tracking"
- Where do you want to send the visitor from the thank you page? Select either landing page or offer.
Step 2. Add your Landing Pages
- Enter a Name and URL each Landing Page
- Enter a unique numeric ID for each landing page
- Set the Share% for each LP. Total Share% must add up to 100% Per Level.

- If you have "Landing Page" selected for the "Thank you page Tracking" field, then you will also get the "After Opt-in" section
- It is similar with the Landing Page section

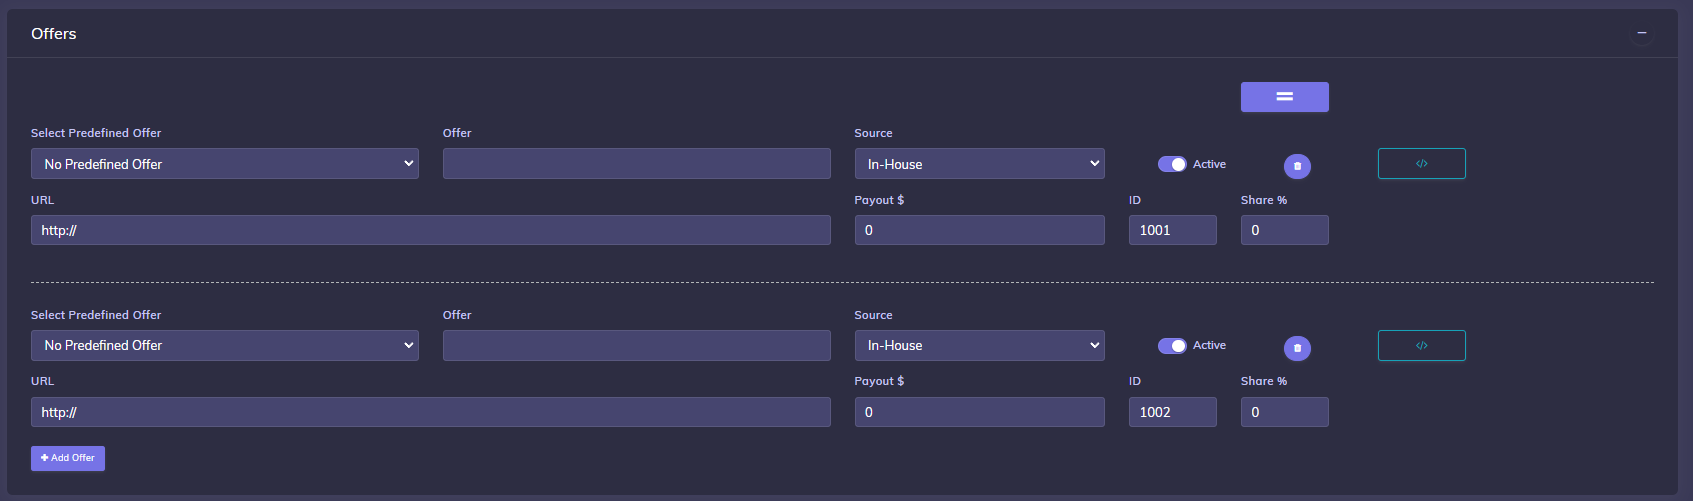
Step 3. Add your Offers
- Enter a Name and URL for each Offer
- If Passing the SubID to the Offer then enter the URL with the SubID variable added, with no data entered for the SubID.
- Ex.
http://www.offer.com/offerpage.html?SID= - The SubID variable added to the URL can have any name you need (SubID, SID, etc)
- Select the Offer Source
- Enter the Conversion Payout
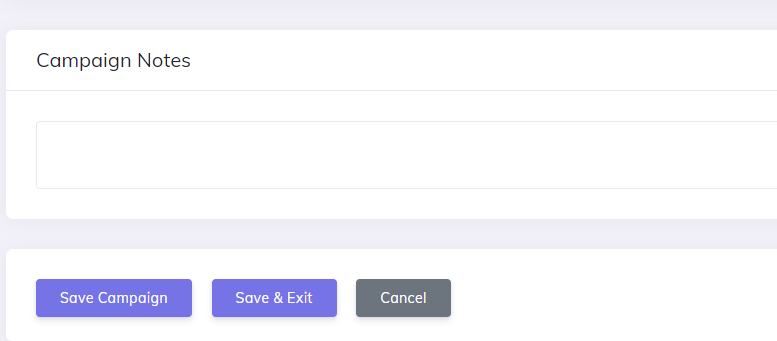
Step 4. Save Campaign
- Click the "Save Campaign" button
Step 5. Add Code and Links to your Landing Pages
You will find all your samples (links and pixels) in the "Links & Pixles" section of your Campaign.
![]()
- Place your Pixel for the Offer Source or Sales Confirmation Page
- Enter the Step 1 Code directly above the closing body tag
</body>on your landing pages
- Enter the Step 1 Code directly above the closing body tag
- Add Step 2 Code below your Opt-In Form Code
- Coding your links depends on whether or not you’re sending subscribers to a thank you page after the opt-in or directly to the offer
Examples:
a) Use Thank You page after opt-in
- If using a thank you page after the opt-in then use "Step 3: Add Code to Thank You Page"
<img src="http://YourDomain.com/adsub.php" />
LPs –optin | ➡️ | Thank You |
|---|---|---|
base3.php | adsub.php |
- To Link to Offers from your thank you page use
<a href="http://YourDomain.com/base3.php">Click for Offer</a>
LPs –optin | ➡️ | Thank you –click | ➡️ | Offer |
|---|---|---|---|---|
adsub.php | base3.php |
b) Not using a Thank You page after opt-in
- If you’re sending subscribers directly to an Offer after the opt-in then set your thank you page redirect for your opt-in form
- use "Step 4: Edit Thank You Page Links to LP/Offer (After Opt-In)" sample
http://YourDomain.com/base3.php?adsub=1
LPs –optin | ➡️ | Offer |
|---|---|---|
base3.php?adsub=1 |
TIP
For more information about Tracking without a Thank You page or Tracking Double Opt-In Subscribers, please check Tracking Without a Thank you page
Step 6. Set the Redirect Profiles for your campaign (Optional)
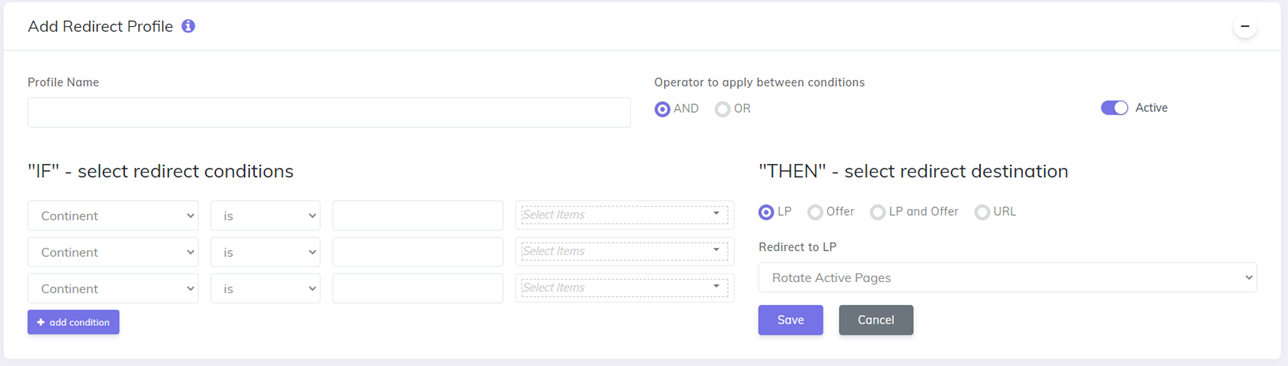
- You can set up Redirect Profiles on the Campaign Setup page or on the Redirect Profile page. The setup is the same in both locations.
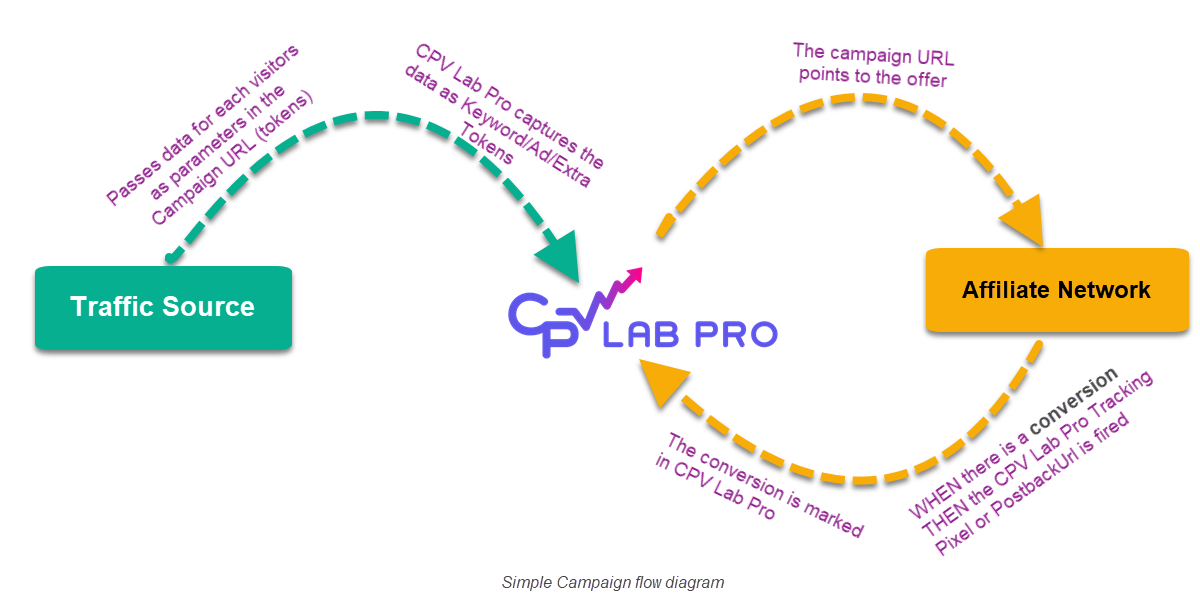
Simple campaign flow diagram:
Find more details in the video below:
Video Tutorial for setting up your first CPV Lab Pro campaign (opens new window)
You may also find useful:
Video Tutorial for easy lead capture campaign in CPV Lab (opens new window)
