Landing Page Protection Script
CPV Lab Pro (opens new window) has an option to protect your landing pages from spyware parsing and from unauthorized direct access.
- This works by having a special key generated in the campaign URL, which is valid for a certain period of time (5 minutes by default).
- The system correlates the time difference between clicking on the campaign URL and opening the landing page and also verifies additional visitor data (like IP Address and User Agent) to correspond.
Access to your landing page will be possible only through the Campaign URL and only in the specified time interval after the initial click.
The typical CPV Lab Pro campaign will redirect visitors from the Campaign URL to the landing page without any protection in place.
- This means that anybody with the link to the landing page will have access to it, so you may have spying tools accessing and potentially stealing your landing pages.
But with the Landing Page Protection Script it won’t be possible to see the landing page content even if you have the landing page URL, you will need to come through the Campaign URL first.
Prerequisites
1. CPV Lab or CPV One - this feature is available for both CPV Lab (opens new window) and CPV One (opens new window) 2. PHP Landing Page - The Protection Script needs the landing page to be a PHP page, it won’t work with HTML pages.
- If you currently have an HTML page, then the simplest solution is to change its extension to php.
3. No Direct Traffic Code - A campaign that doesn’t receive organic traffic tracked with the Direct Traffic Code since this LP Protection feature prevents access directly to the landing page.
4. No Google Ads Traffic Source - A campaign that doesn’t use Google Ads as traffic source since tracking Google Ads involves redirecting visitors directly to the Landing Page instead of the Campaign URL.
How does it work?
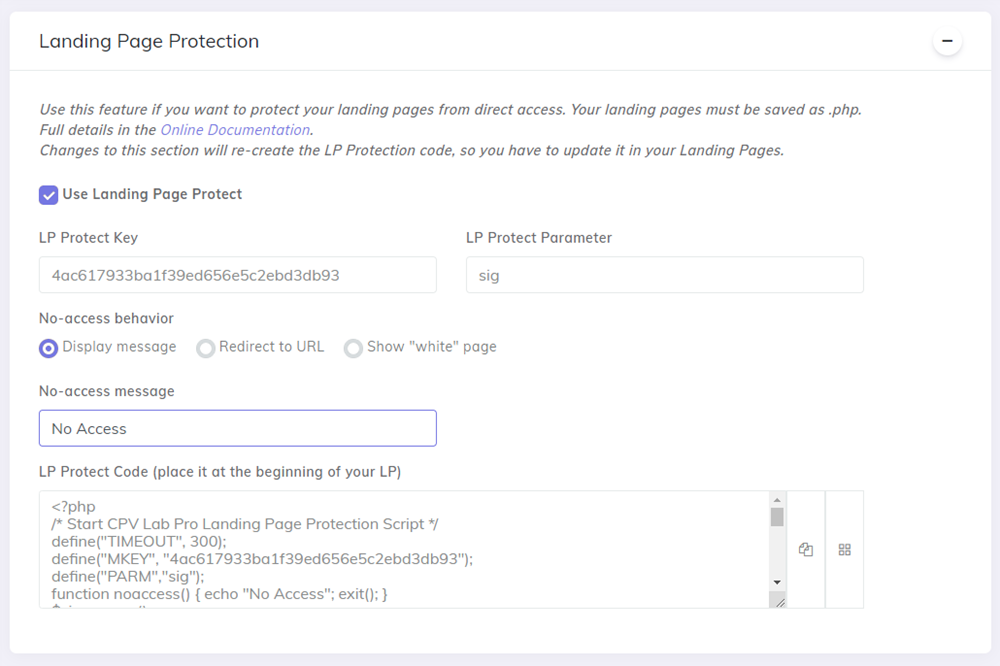
CPV Lab Pro will provide you with the script code in the campaign setup page, in the new Landing Page Protection section.
- You just need to copy (use the Copy button at the right of the multiline textbox) and paste this code at the beginning of your PHP landing page.
Then the process is as follows
- CPV Lab Pro will generate a token in the Campaign URL and it will place it as a parameter in the landing page URL.
- the code from the landing page will verify the token and if it is valid, the landing page will be displayed, otherwise access to the landing page will be restricted.
Configurable options for the Landing Page Protection Script
The following are global settings for the LP Protection Script that can be changed using the Configuration Editor page from the Settings menu and are applied to all campaigns:
- Protection Timeout – the interval (in minutes) to allow access to the landing page after the initial Campaign URL click; default value is 5 minutes.
- Protection Level - choose how restrictive the protection should be:
- IP Address + User Agent + Time - most restrictive, it checks for the IP Address and User Agent to be the same for visitors as it was in the Campaign URL and also for the Time Difference to be less than the Protection Timeout value.
- User Agent + Time (default option) - average restrictive, it checks for the User Agent to be the same for visitors as it was in the Campaign URL and also for the Time Difference to be less than the Protection Timeout value.
- Time - less restrictive, it checks only for the Time to be less than the Protection Timeout value.
- Default No-access message - the default message to display in the page for un-authorized visitors.

The following are campaign-specific settings that can be configured in each campaign setup page:
- LP Protect Key - private key used for generating the token, can be defined per campaign;
- LP Protect Parameter - the parameter to use for the token, leave it to default ‘sig’ value unless you want a specific parameter appearing in the landing page URL.
- No-access behavior - choose what should happen for visitors that are no authorized to see the landing page:
- Display a message - like No Access in the page;
- Redirect to URL - send visitors to another page;
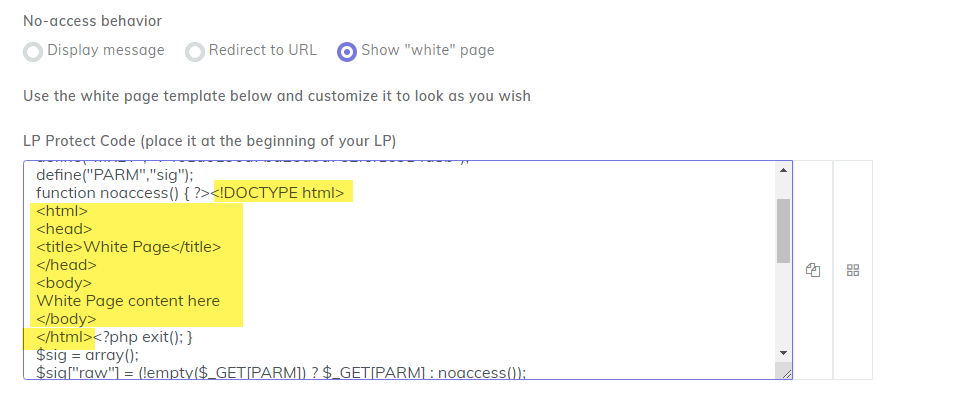
- Show “white” page - define an alternate page that will be displayed;
- customize the “white” page included in the LP Protection code;
Examples
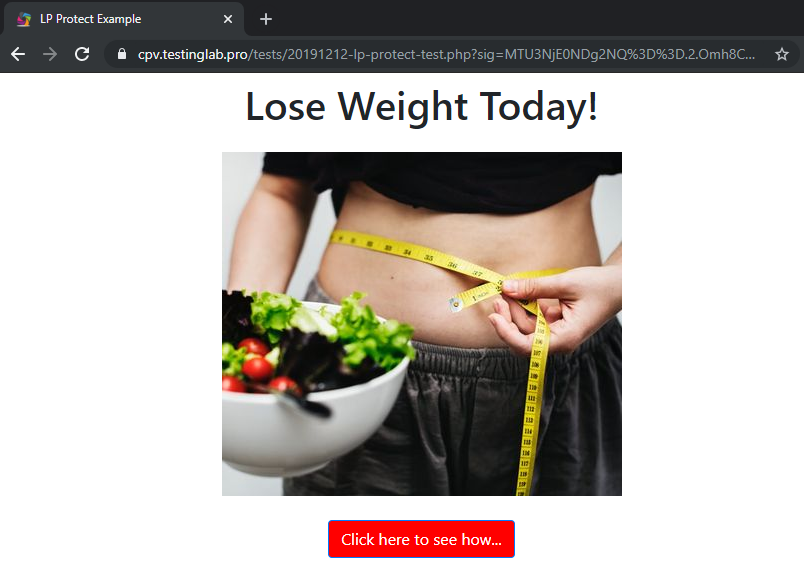
- Let’s says that you have everything configured with the default options and that you generate the Landing Page Protection code for your campaign to display 'No Access' message for un-authorized visitors.
- Your regular visitors that come through the campaign URL will be able to see the landing page without any issues for a time interval specified in the Protection Timeout setting.
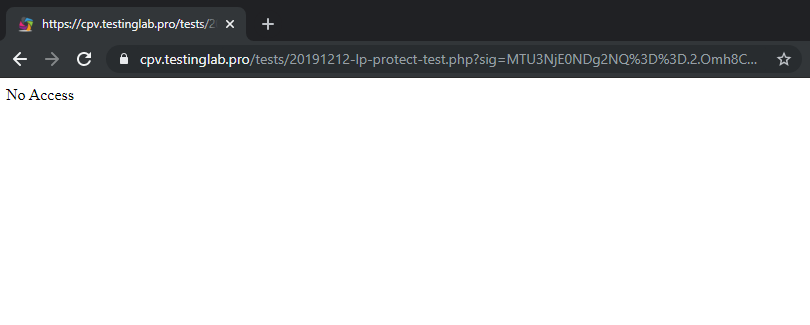
- But people that access the landing page directly or people that access the page after the Protection Timeout interval expired will see the ‘No Access’ message instead of the landing page.
- The same happens if the landing page URL is shared with somebody else, since the protection is also done through the User Agent.
- If you prefer to display an alternate page instead of a simple message, then you can:
- either redirect to the desired page (using the Redirect to URL option)
- either create a
“white”page in the Landing Page Protection Code.
- For the
“white"page, look in the Landing Page Protection Code for the section that says “White Page content here” and replace it with your own HTML code: