MyLead integration in CPV Lab Pro
Who is MyLead?
MyLead is a caffiliate network platform created to earn money online. They have ready-made tools and functionalities that allow every person with Internet access to generate profit. MyLead is a global affiliate network distinguishes by innovative! For 5 years of activity, they have built a strong position in the affiliation industry, getting valuable awards for everyday work towards their users.
- MyLead is listed as a trusted affiliate network in CPV Lab Pro (opens new window).
SIGN UP HERE (opens new window) and you will get a bonus after registration 😃
How to use MyLead in CPV Lab
Below you will find details on how to setup and use MyLead Offers in CPV Lab (opens new window) or CPV One (opens new window) affiliate trackers.
You will find out:
- How to setup MyLead in CPV Lab (or CPV One)
- How to get the Offer URL from MyLead and what parameters to use (like the unique subID)
- Where to place the postback URL in MyLead so you get conversions back to the tracker
Step 1. Add MyLead in CPV Lab | CPV One
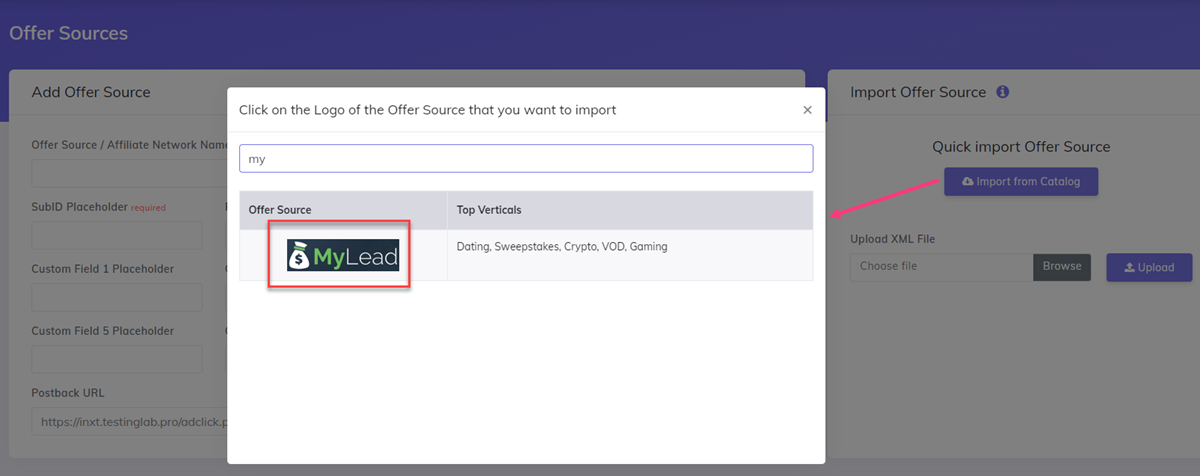
- Add MyLead as an Offer Source in your tracker
- CPV Lab Pro comes with the MyLead Offer Source pre-configured in the Offer Sources catalog, so in this case you just have to import it from the catalog.
- The detailed configuration for the MyLead Offer Source is the following:
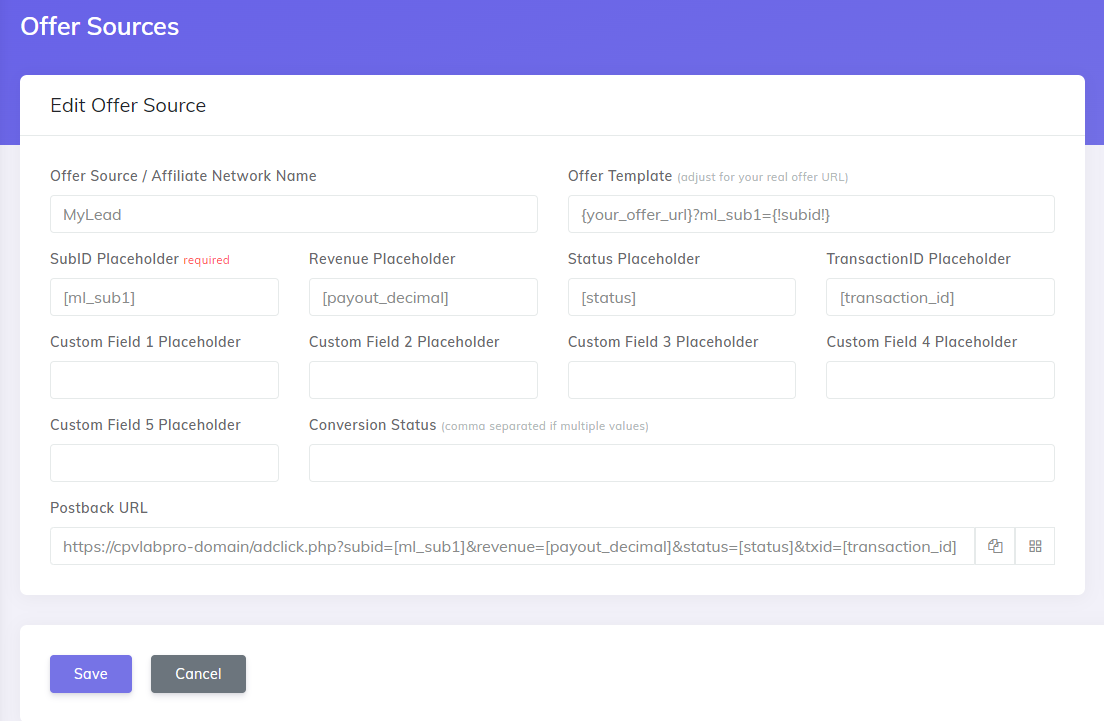
- Copy the Postback URL field in clipboard
- Click SAVE
Step 2. Connect the tracker with MyLead server to server
- CPV Lab can be connected via Server to Server Postback URL (S2S) with MyLead with a few clicks
- This integration is needed in order to receive information about your conversions / orders from MyLead in the tracker.
- You need to setup in MyLead the Postback URL from CPV Lab
How to setup the Postback URL in MyLead
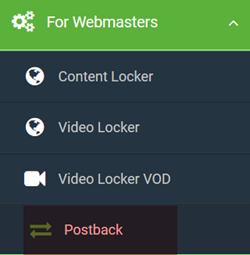
- Go to your MyLead Account to the Postback and API section under "Manage" menu
- Click on the "Add a Postback URL" green button
- Enter your Postback URL as (copied from CPV Lab on step 1 above)
https://your-tracker-domain/adclick.php?subid=[ml_sub1]&revenue=[payout_decimal]&status=[status]&txid=[transaction_id]
- Once you paste the Postback URL, the parameters that will be sent back to the tracker are marked in green in the list of tokens.
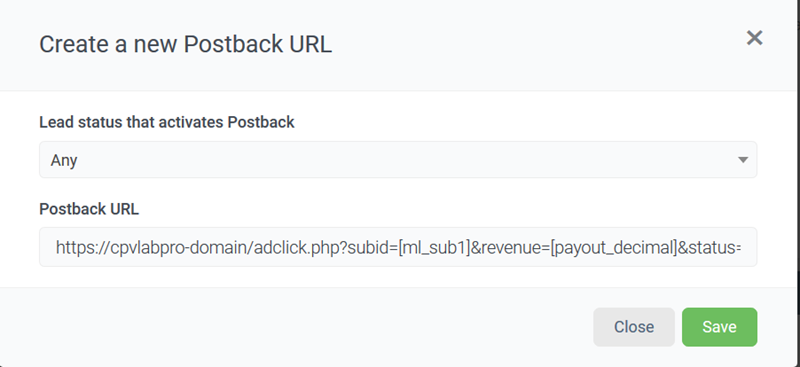
It is important to also select only the Status of the order that you want to see in the tracker.
- it can be: approved, pending, rejected, pre-approved, ALL
This Postback URL will tell MyLead to send back to CPV Lab Pro the converting SubID, the revenue for the conversion, the status and the transaction Id.
In this way CPV Lab will get the information about your conversions from MyLead
Click on "Go back to configuration list" to finish the setup

Step 3. Select an offer/campaign from your MyLead account
Now you want to select an offer to promote from MyLead affiliate network. Here are the steps needed:
- Login to your MyLead account and go to the "Affiliate Campaigns"

- Select an Offer that you want to promote and click "Join"
- To get approval, you may need to have a Traffic Source added to your account
- To add a traffic source in MyLead you only have to go to Traffic Sources and add it (like in the image below)

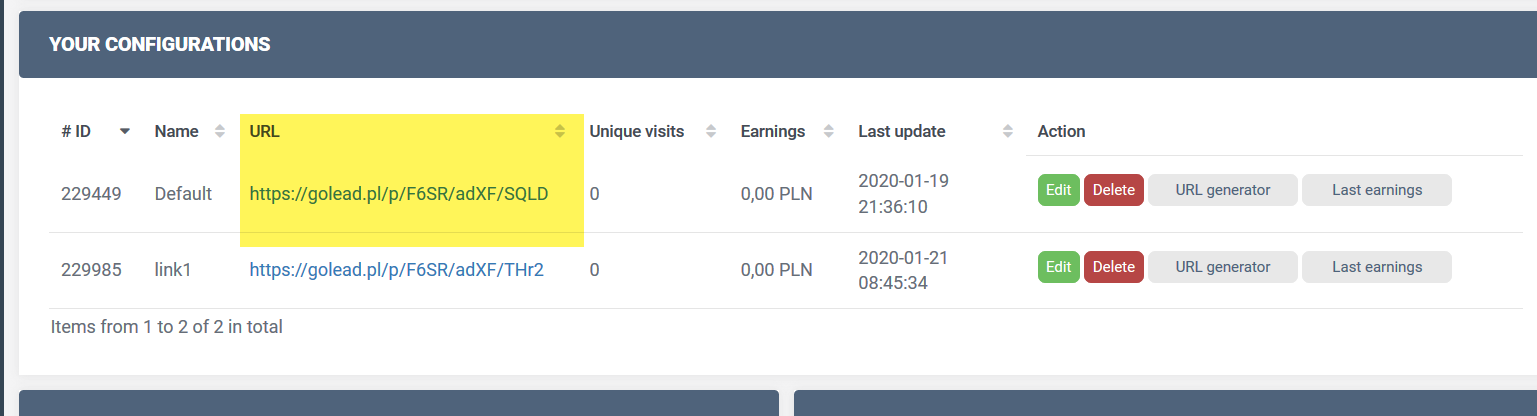
- After joining a campaign, create an URL for it
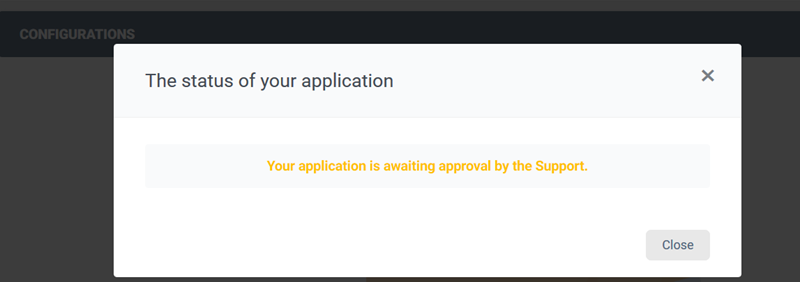
- you may have to wait to get approval, like specified in the image below
- Once you get the Offer URL go to step 4 below.
Step 4. Add your MyLead Offers in CPV Lab
CPV Lab Pro allows for the offers to be added directly in the campaign (if you have an offer just for that campaign) or in your "Offer List" section (if you want to use them for multiple campaigns)
Our advice is to add your offer in the offer management section as a predefined offer.
- Go to LPs&Offfer -> Offer Management
- Add your offer (copied on step 3 above)
- Make sure you choose "MyLead" as source
- Save
Example: https://golead.pl/p/F6SR/adXF/SQLD?ml_sub1={!subid!}
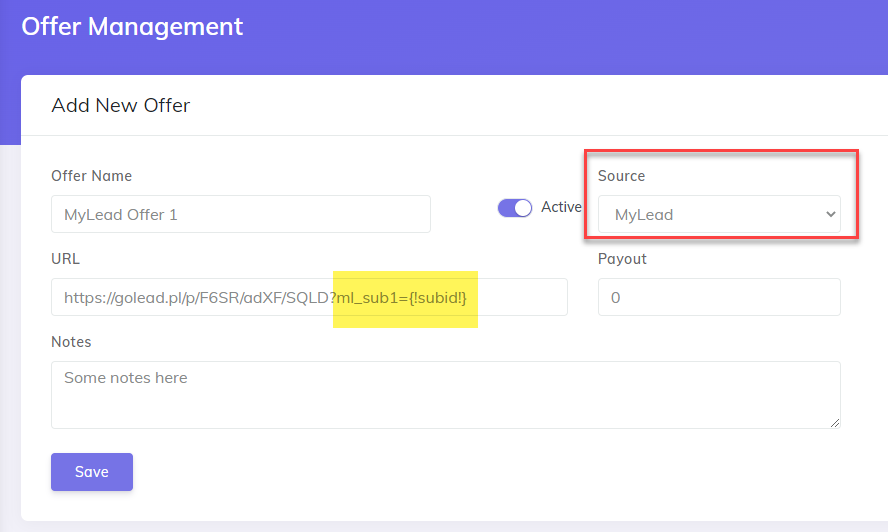
TIP
Make sure your offer URL is the one provided by MyLead + the subid parameter used for tracking and passing back conversions in the ml_sub1={!subid!}
Step 5. Create the campaign in CPV Lab | CPV One
- Go to your tracker dashboard
- Create a new campaign
- General info: Fill the general and tracking information for your campaign
- Traffic Source: Select your traffic source
- Offers: Select a predefined MyLead Offer from your list (make sure it has the right parameter)
- Save your campaign
TIP
- Make sure the Offer URL is in the right format
- You can find the Offer URL Template on the Offer Source setup page, as described at Step 1 above.
Example: https://golead.pl/p/F6SR/adXF/SQLD?ml_sub1={!subid!}
- Such an Offer URL that contains the
ml_sub1parameter will allow MyLead to capture the subID generated by CPV Lab Pro and send back information when a conversion is happening.
Step 6: Launch the campaign with your traffic source
Once the campaign is ready in CPV Lab, you can launch it with your traffic source and follow its performance.
Well Done! Now your campaign will track correctly the conversions for the MyLead offer!