Email Follow-Up Campaign Setup
To setup an Email Follow-Up Campaign you need to follow the steps below:
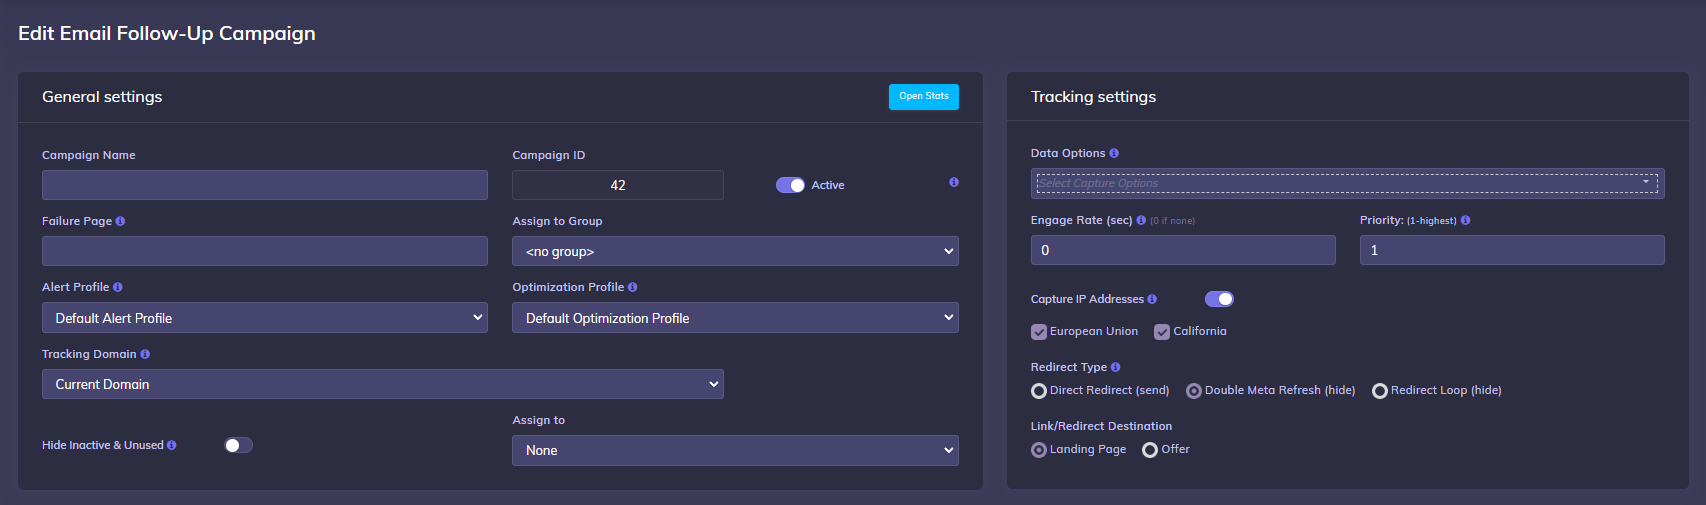
Step 1. General and Tracking Settings
In the General settings section make sure you pay attention to:
- Campaign Name - this is the name of your campaign so it needs to be something relevant /specific format
- Custom Domain - this is the custom tracking domain you will use for all your tracking links
- Assign to - Here you can select the campaign that is building the mailing list. Then when you view the Campaign Performance stats for that campaign
- you’ll also be able to see the amount of revenue the mailing list has generated.
- this allows you to quickly determine how effective your list building efforts are long term
In the Tracking Settings section you need to specifypay attention to:
- Data Options - this is the information the tracker can track about the visitor (GEO location, ISP Carrier, Mobile data, etc)
- Engage Rate - 0 if you don't want to use it. Or put a number of seconds (like 5 or 10) and after that number of seconds the visitor will be considered "Engaged" and show up in stats as a percentage.
- Link Redirect/Destination - Select Link Redirection to be Landing Page (if you use a landing page) or Offer (if you link directly to the offer)
Step 2. Macros and Tokens (optional)
In this section you can place some custom tokens you want to track for this campaign or select the bot and proxy tokens predefined by CPV Lab tracker.
Usual tokens used are:
- Link number - this is a parameter you will add to the links in your email that you want to track
- email number - to track the number of the email
TIP
Please note that these tokens are optional and you should append them to your Tracking URL to get tracked. Here, on the campaign setup page, you only define these parameters.
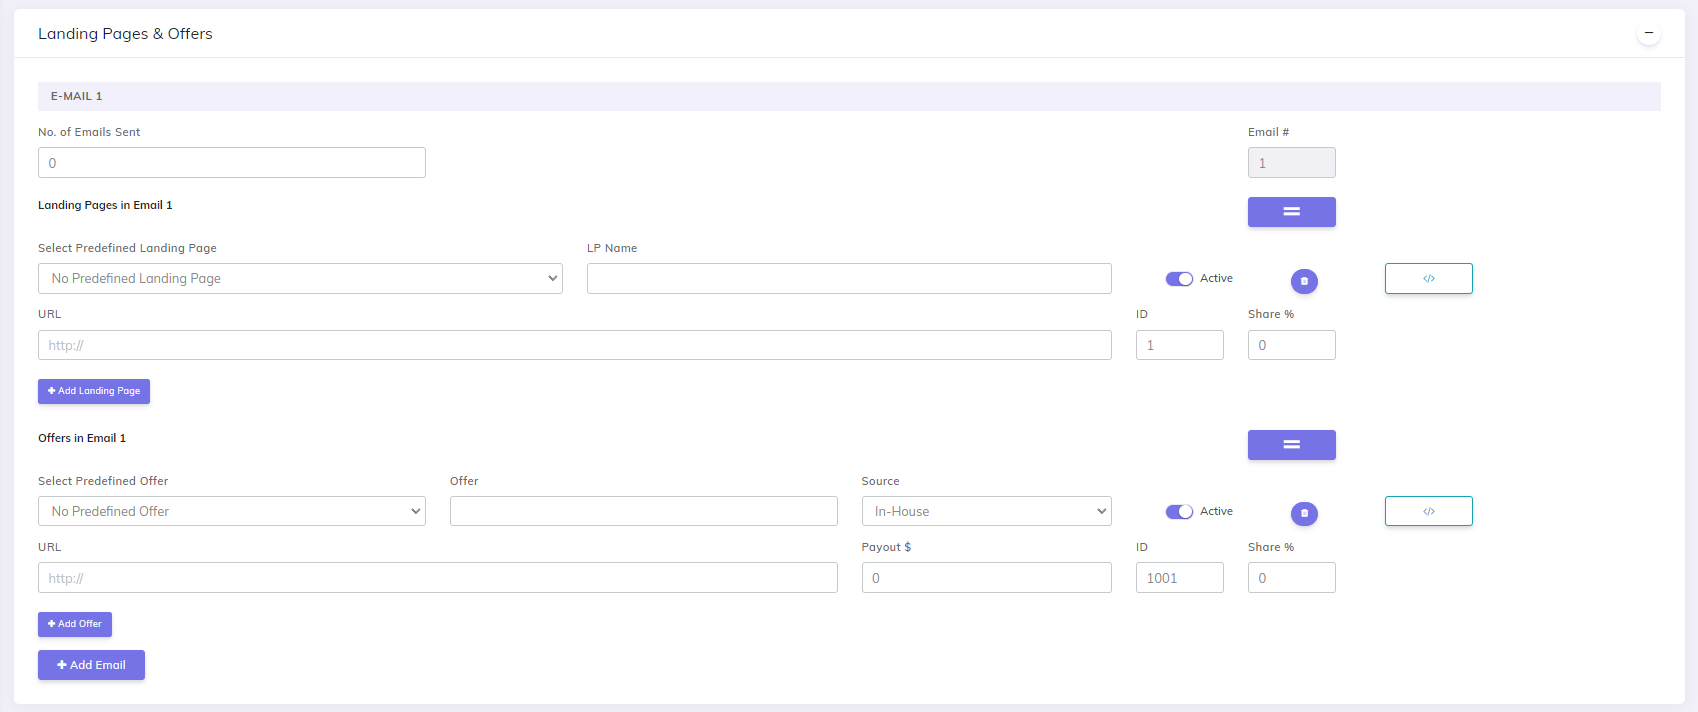
Step 3. Landing Pages and Offers
Depending on your selection on the "Tracking Settings " (check step 1 above) for the "Link Redirect / Destination" field you will be able to add landing pages (optional) and offers. You need to pay attention to the following:
# Emails Sent - Enter the number of emails being sent
- you can have multiple emails setup
- each email will have a number of emails that are sent
Email # - A numeric number is assigned for each email (1, 2, 3, 4, 5, etc.)
Enter a Name and URL for each Landing Page
Enter a unique numeric ID for each landing page in the Campaign
Set the Share% for each LP. Total Share% must add up to 100%
Enter a Name and URL for each Offer
- If you are Passing the SubID to the Offer then enter the URL with the SubID variable added, with no data entered for the SubID.
- Example:
https://www.offer.com/offerpage.html?SID= - The SubID variable added to the URL can have any name you need (SubID, SID, etc)
- Example:
- If you are Passing the SubID to the Offer then enter the URL with the SubID variable added, with no data entered for the SubID.
Select the Offer Source
Enter the Conversion Payout
At the end you will have 3 buttons:
- Add Landing Page - to add a new Landing Page to the Path
- Add Offer - to add a new Offer to that Email
- Add Email - to add a new Email Section with new Landing Pages and new Offers
TIP
Direct Linking to Offers from Emails: To Direct Link to Offers from an Email, make sure you select "Offer" from the "Tracking Settings -> Link/Redirect Destination" .

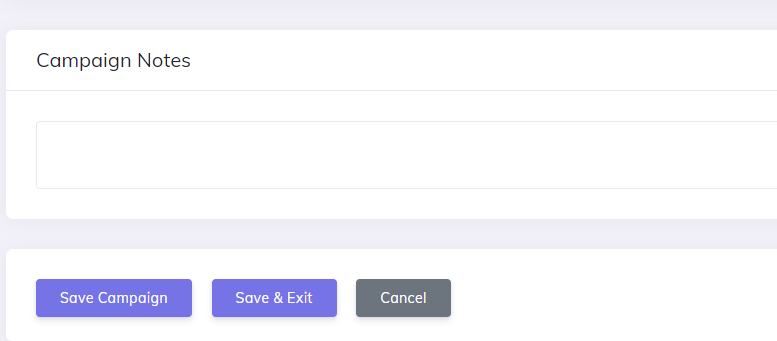
Step 4. Save Campaign
- Click the "Save Campaign" button
Step 5. Tracking code and pixels
Add Code and Links to your Landing Pages, Emails and Place your Pixel
You will find all your samples (links and pixels) in the "Links & Pixles" section of your Campaign.
![]()
If using Landing Pages:
- Code your links to the offer/s on your landing pages using the Step 1 link code.
https://YourDomain.com/base2.php
- Enter the Step 2 Code directly above the closing body tag
</body>on each of your landing pages.
- Code your links to the offer/s on your landing pages using the Step 1 link code.
Add Links to your emails
https://YourDomain.com/base.php?c=106&key=8e20b7a79d2a165&id=xxx- Replace 'xxx' with the Email # for the email that you are sending
You can find Pixel Samples in the "Links & Pixels" section of your campaign:
![]()
Step 5. Set the Redirect Profiles for your campaign (Optional)
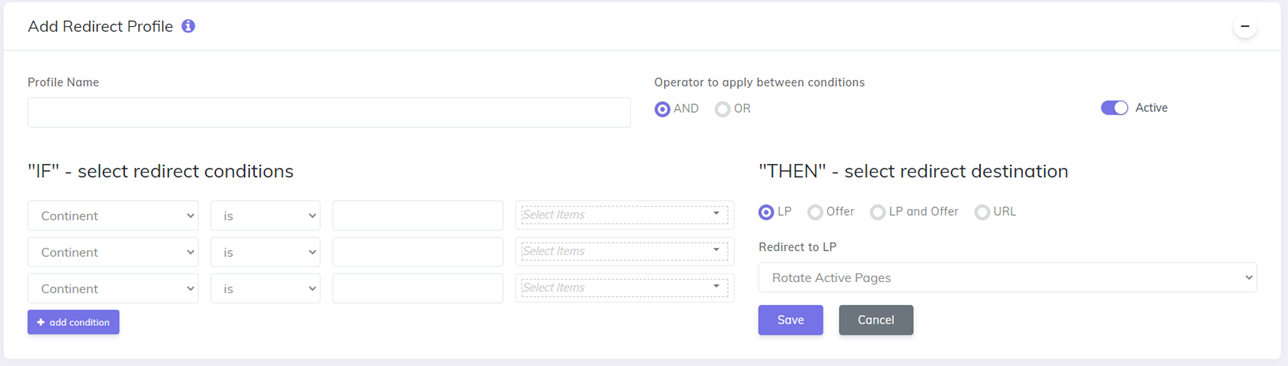
- You can set up Redirect Profiles on the Campaign Setup page or on the Redirect Profile page. The setup is the same in both locations.
You may also find useful: